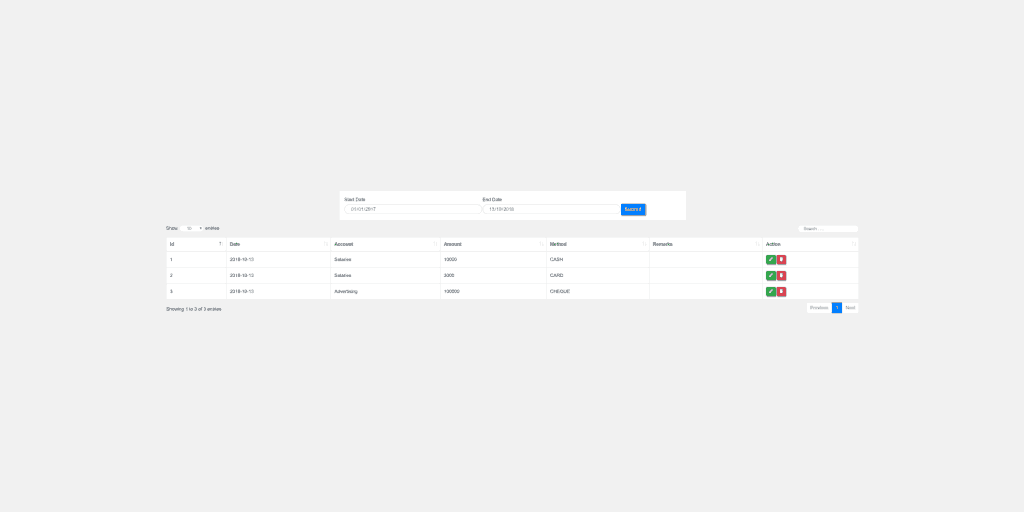
In an earlier article, I have shown how to initialize DataTables. Here is the link.
In this article, I will show how to use DataTables date range with an example of backend.
If you want to add date range in a jQuery DataTables with backend here is a solution.
First, you need to initialize the table, then create a form in the HTML document like this:
<form class="range_form">
    <h3>Date Range Form</h3>
    <div class="form-group">
        Start Date
        <input type="date" class="form-control" name="start_date" />
    </div>
    <div class="form-group">
        End Date
        <input type="date" class="form-control" name="end_date" />
    </div>
    <div class="form-group">
        <button class="btn btn-primary">Get Data</button>
    </div>
</form>
Using this form we will filter data from the backend.
I have added a start date input field and an end date input field for filtering the date from a table or schema.
I used bootstrap class in order to beautify the form by default.
You can add this form above the table for better User Experience.
And add extra search options along with DataTables ajax request to the server:
It has a great feature. You can send extra parameters along with every request. Here is how:
...
data: function() {
    //for sending extra params along with the URL
    // we are just returning a form with jquery serialize
    return $('.range_form').serialize();
},
...
Here is the full code of the table.
var example_table = $('#example_table').DataTable({
    ajax: {
        url: '/api/users',
        data: function() {
            //for sending extra params along with the URL above
            // we are just returning a form with jquery serialize
            return $('.range_form').serialize();
        },
        dataSrc: function(data) {
            return data.data || [];
        }
    },
    footerCallback: function(tfoot, data, start, end, display) {
        var api = this.api();
        $(api.column(3).footer()).html(
            api.column(3).data().reduce(function(a, b) {
                return parseFloat(a) + parseFloat(b);
            }, 0)
        );
    },
    processing: true, // this will show loading whenever table reloads or any actions heppens with the table
    columns: [{
            data: "id"
        },
        {
            data: "name"
        },
        {
            data: "position"
        },
        {
            data: "salary"
        }
    ]
});
Now when anyone submits the form the table will reload with new data with this:
$('.range_form').on('submit', function(e) {
    e.preventDefault(); // prevents default action of a form submit
    example_table.ajax.reload(null, false); // this will reload the table everything user submits the form
});
In the backend, you can now get the form data using the “get” method.
Example of a simple backend for DataTables date range:
I used minimal backend example for understanding how you can use the date filter of the form in the backend using PHP and Node JS.
In the backend, I filtered from a simple sales table for demonstrating using a simple SQL query.
I used a simple get request to fetch data.
Node JS Backend:
If you used node js before you can understand easily.
As we are sending the date range with query string, we will get the inputs as below and use it in SQL
app.get('/api/sales', function(req, res) {
	let sql = `SELECT
		*
	FROM sales
	WHERE date BETWEEN ? AND ?`;
	conn.query(sql, [req.query.start_date, req.query.end_date], function(error, result) {
		if (!error) {
			res.send(result);
		} else {
			res.send({
				status: "error",
				message: "Unexpected error",
				error: error
			});
		}
	});
});
PHP Backend:
$json = [];
var $sql = "SELECT
	*
FROM sales
WHERE date BETWEEN '{$start_date}' AND '{$end_date}'";
if ($result = $conn->query($sql)) {
	foreach ($result AS $key => $row) {
		$json[] = $row;
	}
} else {
	$json['status'] = 'error';
	$json['message'] = 'Unexpected error';
	$json['error'] = $conn->error;
}
header('Content-type: application/json');
echo json_encode($json, JSON_PRETTY_PRINT);
There are a lot more things you can do with these. You can play around with their functions for learning or applying in your current project.
You can get full documentation here.

